 Vendlumo
Your first beadwork project: what to check before buying tools
A small, well-chosen kit is more useful than a drawer of incompatible supplies. Start with the requirements of one beadwork pattern, then choose tools that work together.
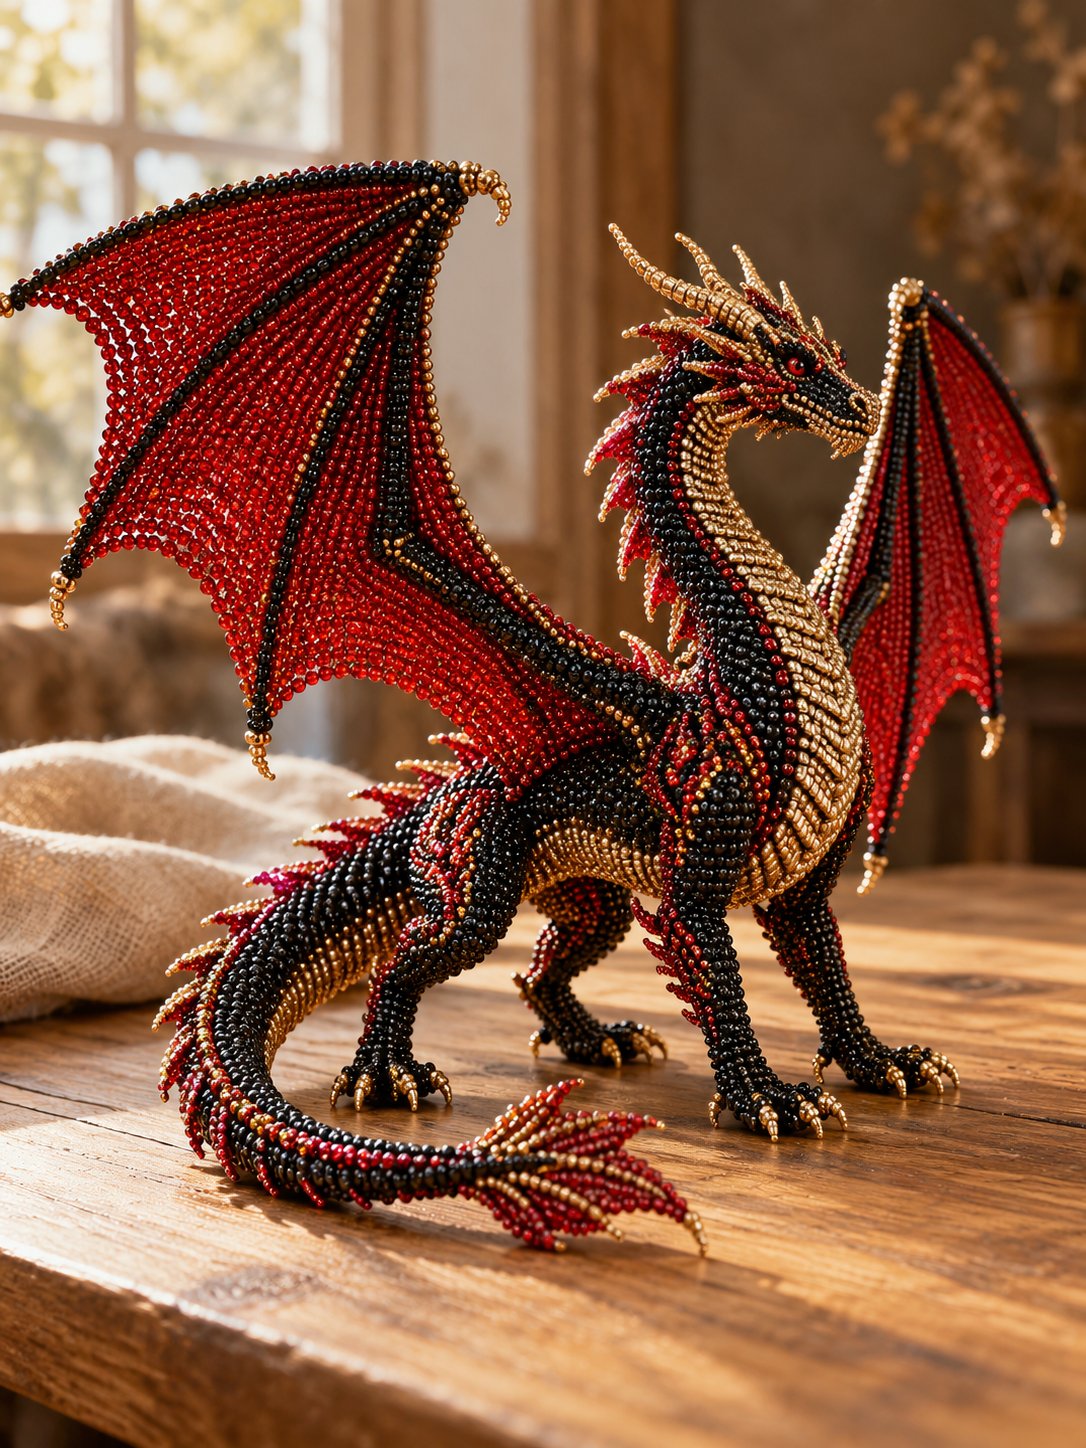
Let the design choose the beads
Bead size, shape and consistency affect how a design fits together. Round seed beads and cylinder beads are not automatically interchangeable, even when their size labels look similar. Follow the exact specification in the pattern, especially for a structured three-dimensional project.
Check the quantity of every colour before you begin. If you substitute a bead, make a small sample first: differences can change the shape, firmness and finished size. Keep packaging so you can identify the size and colour again later.
Match the needle and thread to the bead holes
A beading needle needs to pass through the beads with your chosen thread, often more than once. The eye can be the tightest part. Avoid forcing it through a hole that is too small; choose compatible supplies instead.
Thread type and thickness depend on the technique. A flexible woven design and a wire-based figure can need different materials. Do not replace thread with wire, or the reverse, without checking whether the instructions support the change.
Make a simple, organised workspace
A bead mat or shallow tray helps keep small pieces from rolling away. Separate colours into labelled containers, work in good light and keep appropriate scissors nearby. A small test section is a useful way to practise tension before starting the main design.
Beads and needles are small objects: keep them away from children and pets, and collect dropped pieces before leaving the workspace. Check the product page for the actual technique and included instructions; a photograph alone does not tell you which supplies are needed.
This is a general getting-started guide, not a complete pattern. Always follow the instructions and usage terms supplied with your chosen design.
